Step-by-step guide
How to Split an Image into Layers (Without Photoshop)
A flat image is easy to share but difficult to change. The subject, background, shadows, text, and decorative details are all locked into one canvas. Splitting that image into layers gives you independent assets you can move, recolor, hide, or reuse—without tracing every edge by hand.
The fastest approach is an AI image layer separator. Upload a JPG, PNG, or WebP, choose how many elements you need, and download aligned transparent PNG layers. You can then open those files in Photoshop, Figma, Photopea, or Affinity Photo. The tool below is built into this guide, so you can follow the four steps and try the workflow on your own image without installing software.
Free online tool
Split your image into layers now
Upload an image, choose 2–10 layers, and describe any elements you want to keep separate. You can preview the result before downloading.
Your upload is used only to create this result.
The workflow
How to separate an image into layers in 4 steps
You do not need Photoshop for the separation. Keep the exported PNGs aligned, and they will rebuild the original composition when stacked.
Upload your image
Choose a JPG, PNG, or WebP file up to 10 MB. Images with a clear subject and distinct foreground elements usually produce the cleanest separation.
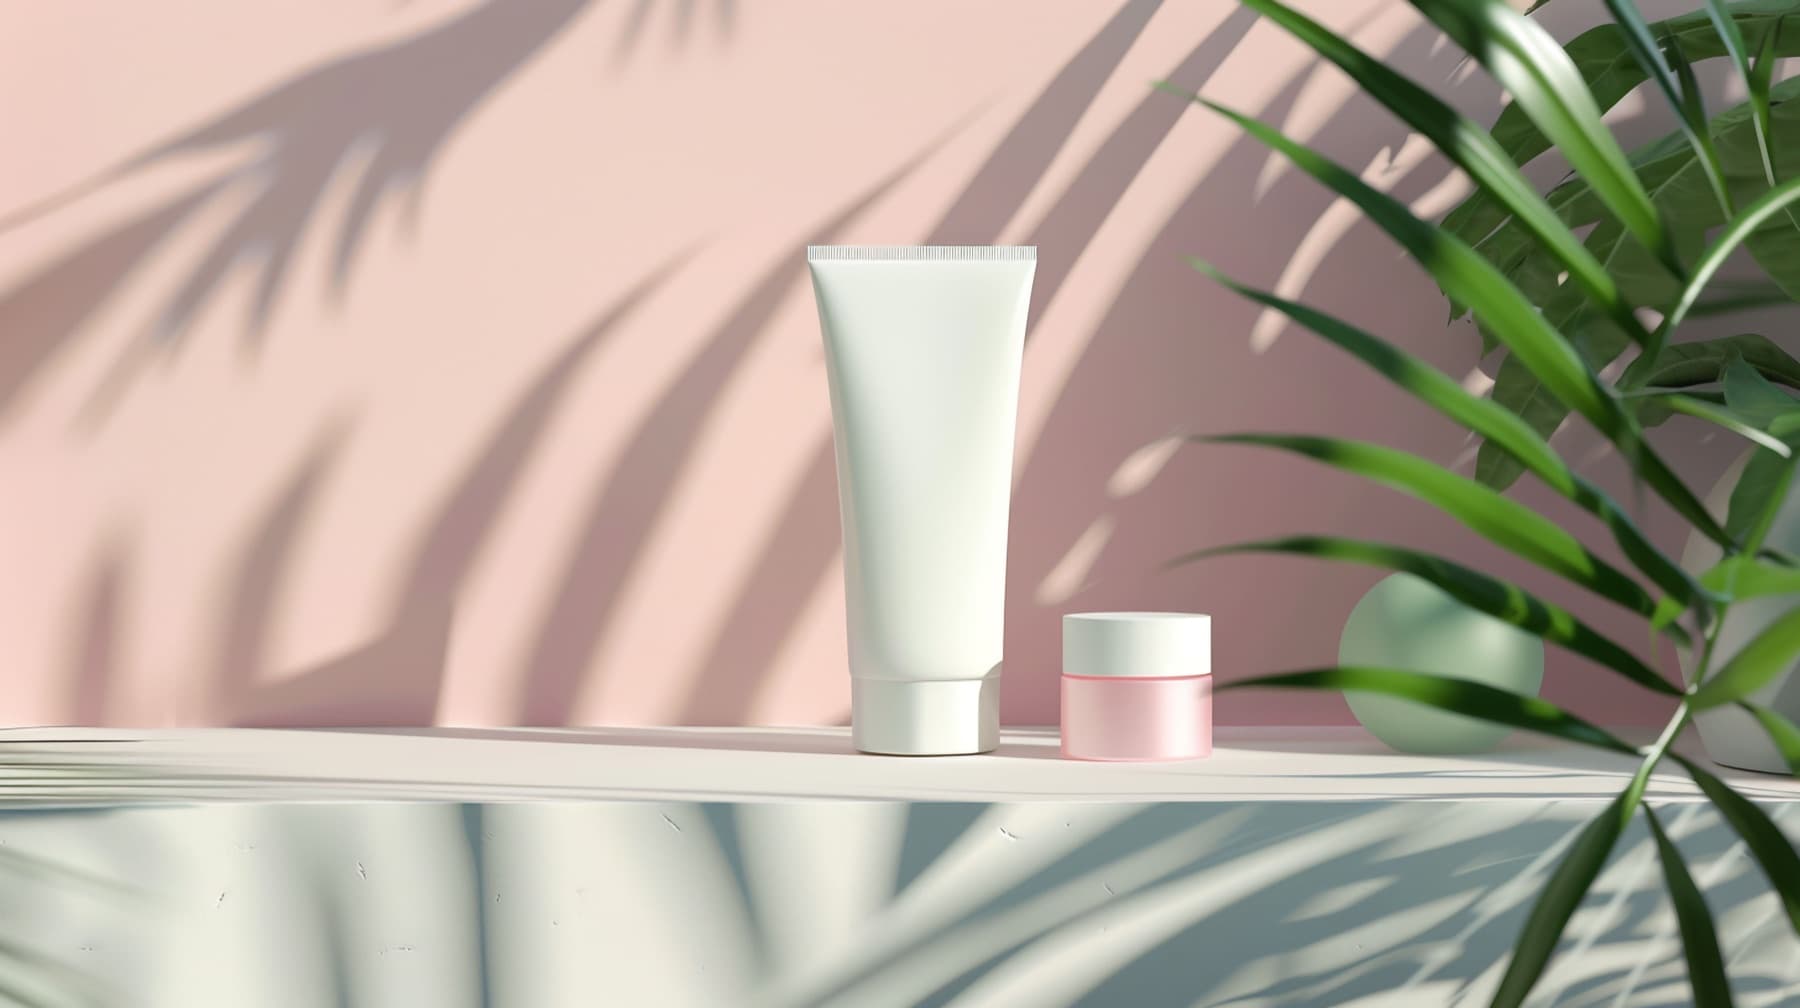
Choose the number of layers
Start with 2 layers for a subject and background. Choose 4 when you also need shadows, text, props, or other details to remain independently editable.
For most photos, 2 or 4 layers is the best starting point.
4 layers · product, shadow, detail, background
Generate and download PNG layers
Let the AI identify visual elements, build masks, and reconstruct covered areas. Preview the result, toggle layers, then download individual PNGs or the complete ZIP.
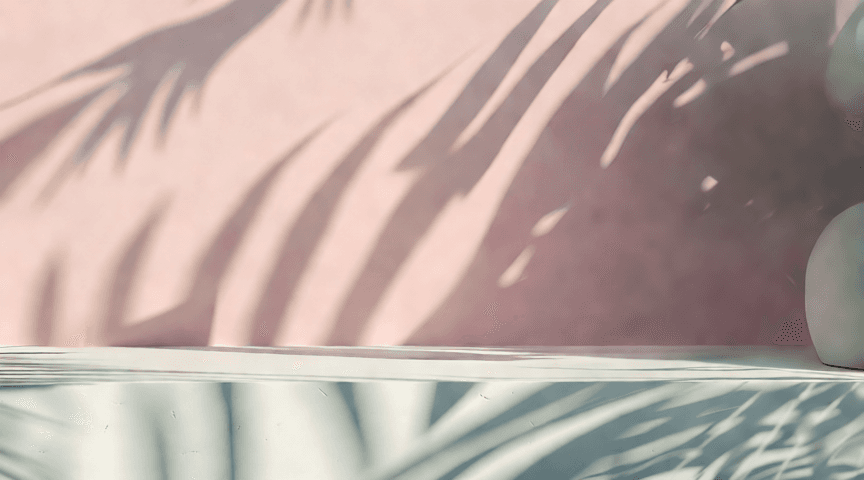
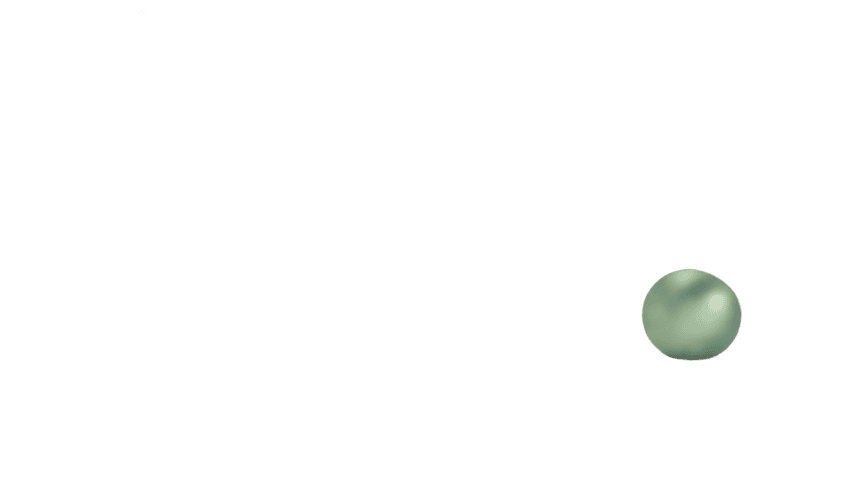
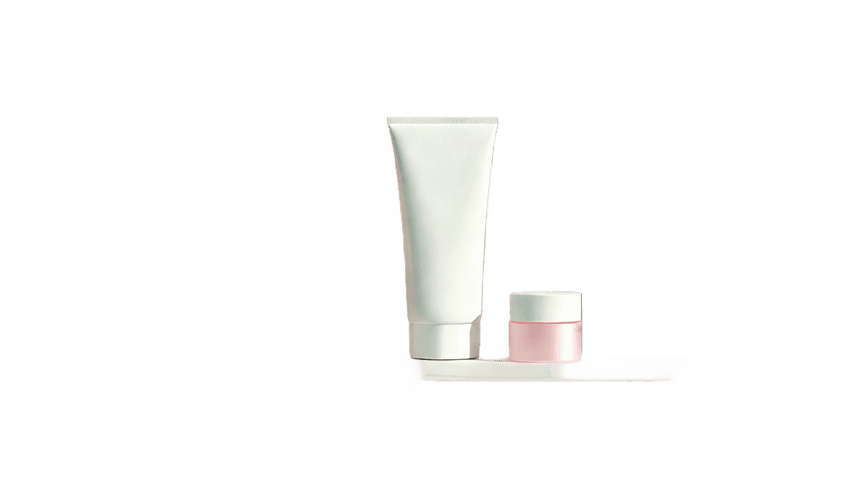
Continue editing anywhere
Import the transparent PNG files into Photoshop, Figma, Photopea, or Affinity Photo. Keep every file aligned to preserve the original composition.
Photoshop · Figma · Photopea
Better results
Tell the AI what you plan to edit
A short instruction helps when the scene contains several overlapping objects. Name visual elements, not editing actions.
Separate the product, cast shadow, headline text, and background.
- Name distinct visible elements
- Put the background last
- Avoid requesting more layers than the scene needs
Common questions
Image layer separation FAQ
Practical answers about formats, layer counts, transparency, and editing the result.
Can I split an image into layers without Photoshop?
Yes. img2layers performs the separation online and exports transparent PNG files. Photoshop is optional and only needed if you want to continue editing there.
What is the easiest way to separate an image into layers?
Upload the image, start with 2 layers, and describe any specific elements you want separated. Increase the layer count only when you need more independent objects.
Can AI turn a flat JPG into editable layers?
AI can identify subjects, backgrounds, shadows, text, and other visual regions in a flat JPG and return them as separate transparent PNG assets.
How many layers should I choose?
Use 2 for a simple subject-and-background split. Use 4 for a composition with shadows, text, or props. More layers are useful only when the scene contains more independently editable elements.
Which image formats can I upload?
You can upload JPG, JPEG, PNG, and WebP images up to 10 MB.
Will every layer have a transparent background?
Separated foreground elements are delivered as transparent PNGs. A base or background layer may remain opaque so the layers can recreate the complete image when stacked.
Can I use the layers in Figma or Photopea?
Yes. Drag the exported PNG files into Figma, Photopea, Photoshop, or Affinity Photo and place them in the same canvas position.
Does AI recreate parts hidden behind other objects?
The model may reconstruct covered areas so an object can be moved independently. The quality depends on the image complexity and the separation guidance you provide.
No Photoshop required
Turn your next flat image into editable layers.
Upload your image and download clean, aligned PNG assets in minutes.